![]()
Application – Documents tab
This tab allows the business to view and download all documents submitted by the applicant during the loan application.

![]()
1. Download
To capture all the documents that have been uploaded by the Applicant/s, the user can simply download the documents first and save them of drag them simply from the downloaded menu as per the mage below:
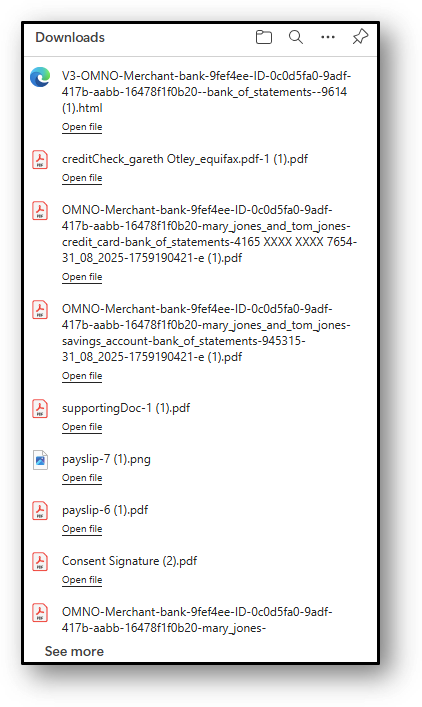
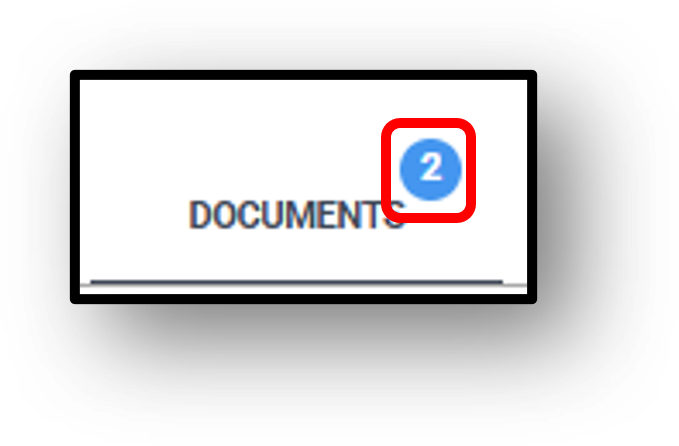
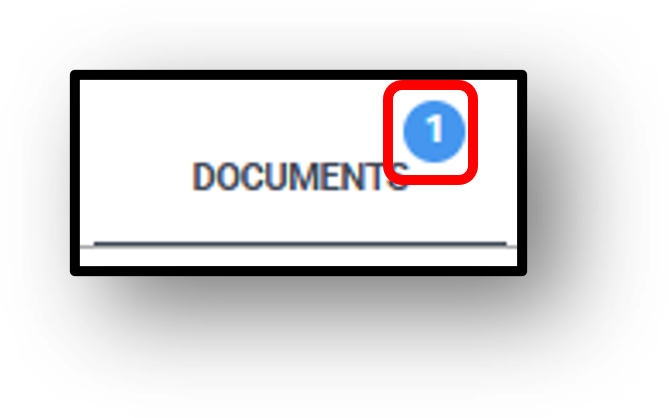
Once the download has been completed you can proceed with adding these documents to the loan application. You will also be able to easily identify how many documents are still required with the blue bubble and the number.
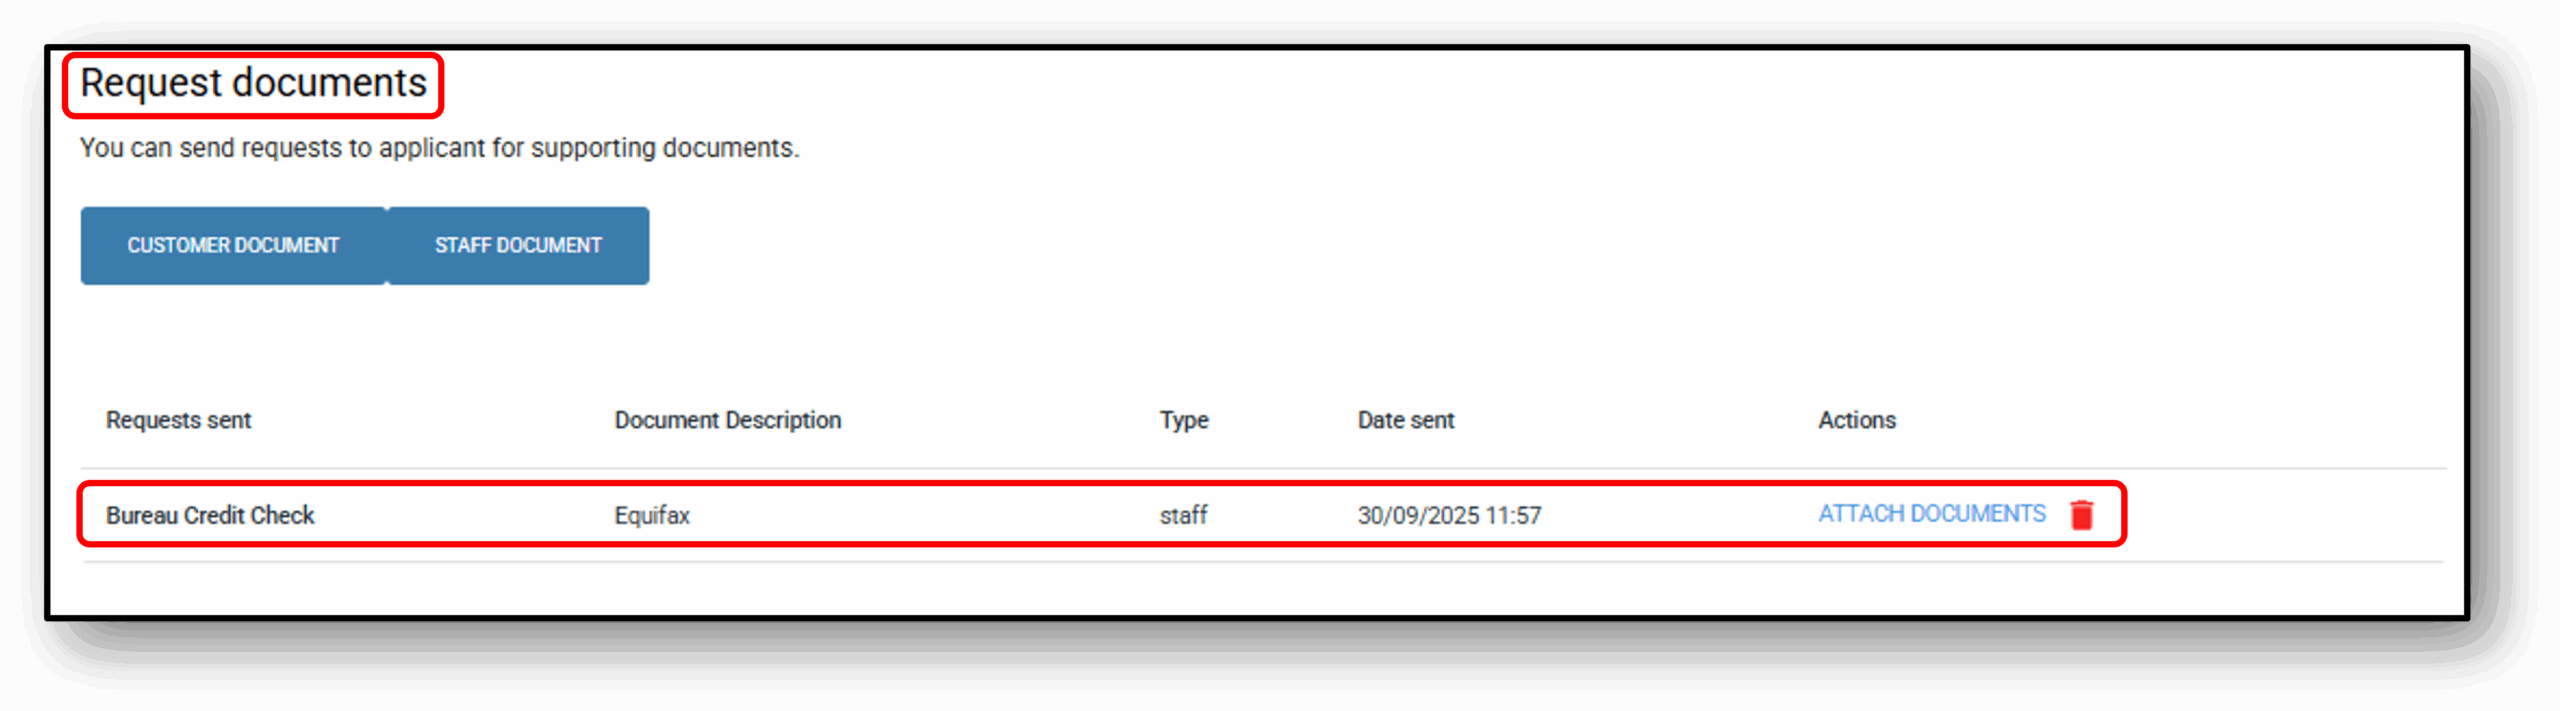
The documents required will be listed below in the ‘Request documents’ section of the tab. See image below:
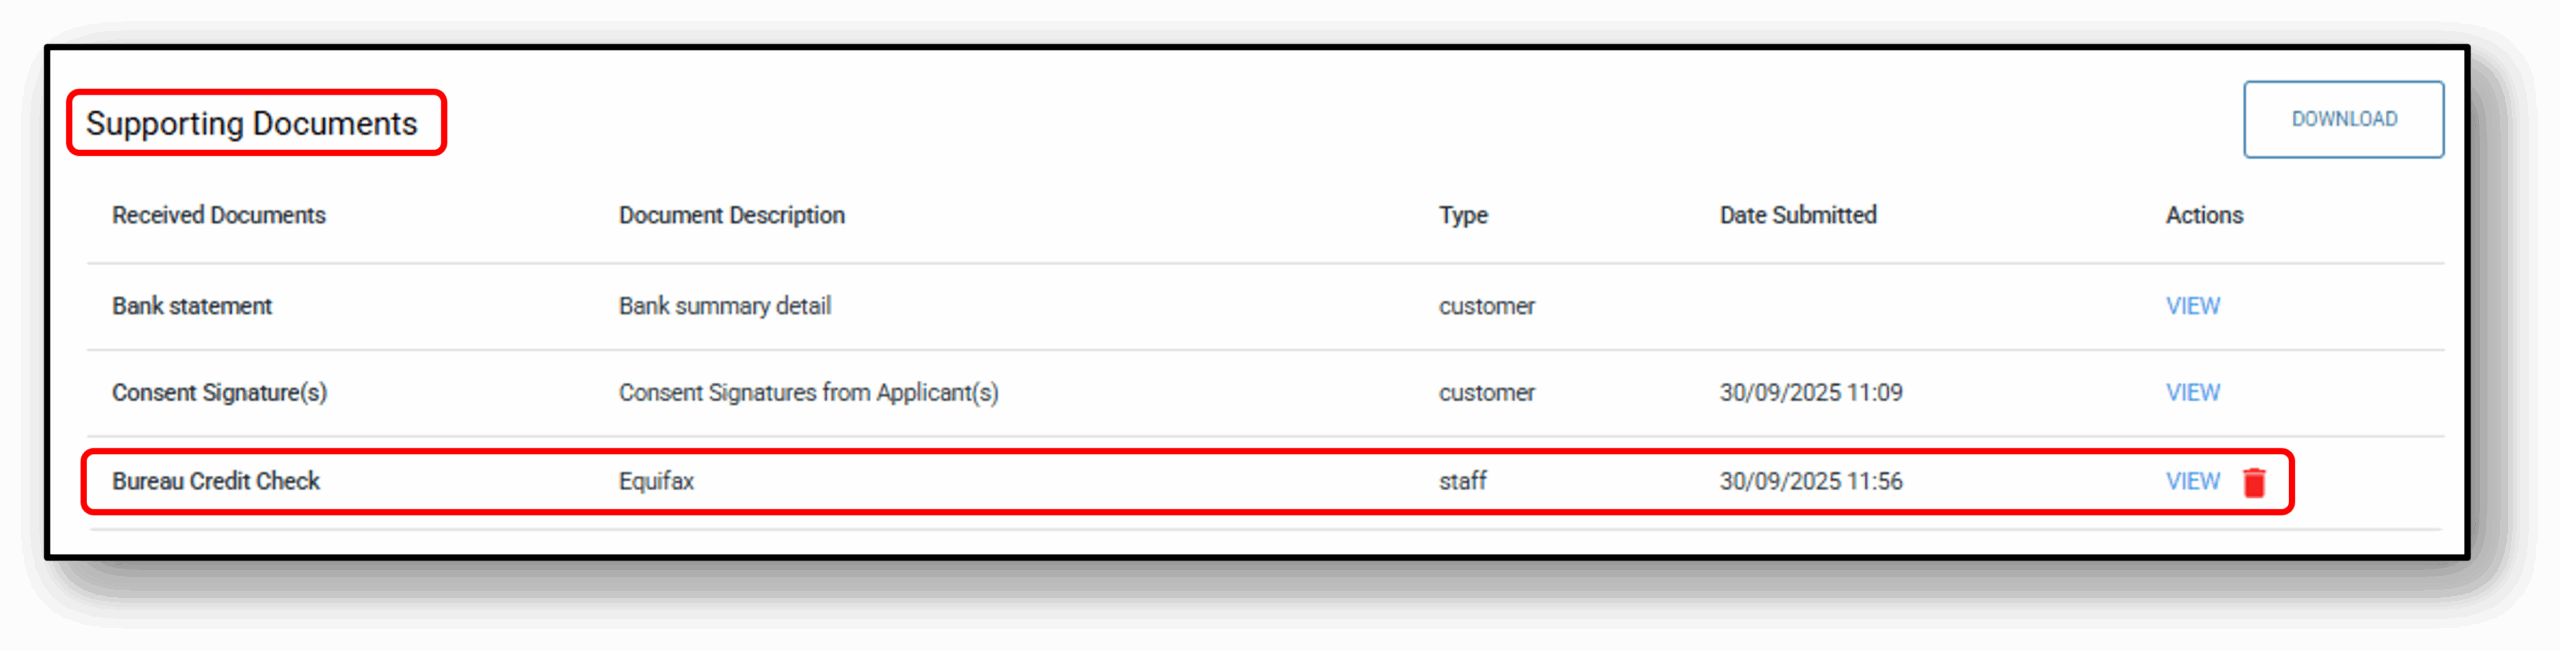
Once the document has been attached and saved, it will now appear in the ‘Supporting documents’ section of the tab. See image below:
As you attached the documents to the ‘Supporting Documents’ section of the tab the number in the blue bubble should adjust accordingly.
2. Request Documents
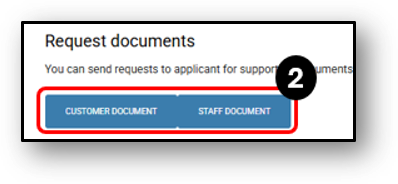
Users can request/upload documents from the applicant in this section. There are two ways to do this:
- Customer Document button – which would trigger an email and/or SMS to the customer that a request for documents has been made via the lender.
- Staff Document button – Which will allow the user to upload the document to support the application
3. Attach Documents
Customer Document button
Step 1: Click the button and type in the type of document you require e.g. ‘Bank Statement’ or ‘Payslip’. Write a short description for the customer that might contain some key details as to the type of document (e.g. ‘Within the last 3 months‘ or ‘your most recent statement‘).
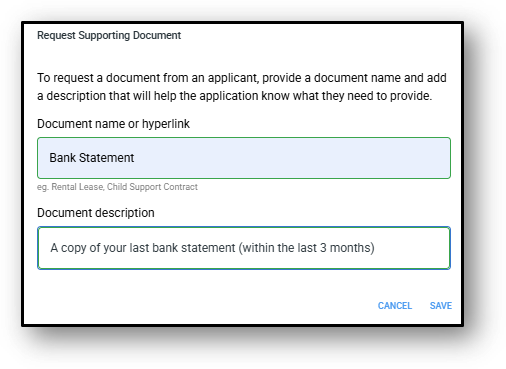
Step 2: Click Save, the customer will now be notified via your customer communications channels.
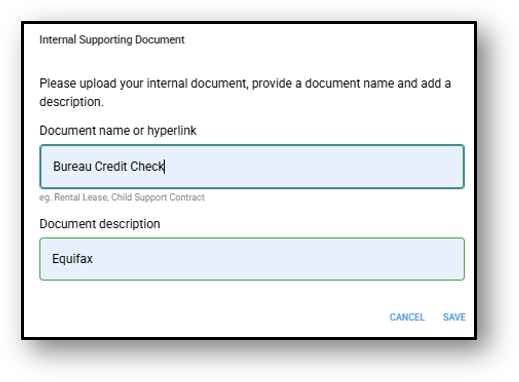
Staff Document button
Step 1: Click the button and type in the name of the document e.g. ‘Bureau Credit Check’ as well as a description that provides further context to the document e.g. ‘Equifax’.
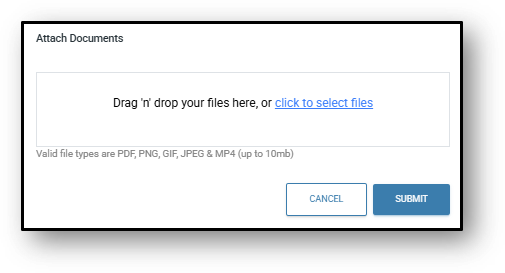
Step 2: Either drag ‘n’ drop your document into the designated area or click the hyperlinked text(click to select files) to select the document that has been saved on you drive.

4. Action/View/Delete
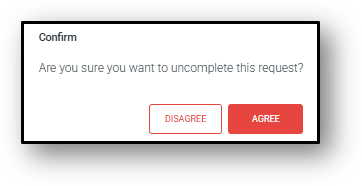
In this section you can view the document if needed, simply by clicking the hyperlinked ‘Edit’. The document will appear again in your download section. A user can also delete an Staff uploaded documents that aren’t required by clicking on the red rubbish bin icon. The user will be prompted a second time for confirmation to uncomplete the request to add the supporting document to the loan application.
The document will now appear back in the ‘Request documents’ section of the tab awaiting for the correct document to be attached to the loan. Alternativel, it can be further deleted from this section if no longer required.
A change log will be generated as an audit trail of the deletion.

![]()
Frequenty Asked Questions
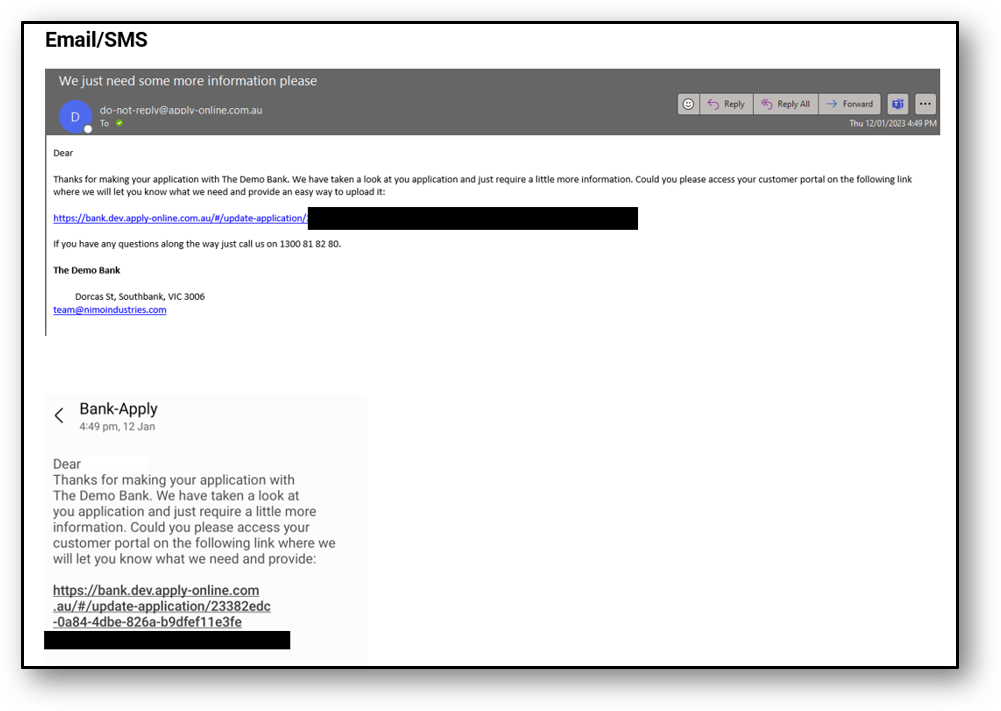
1. After I request the document what do I do next?
When you request a document, your customer is likely to get a text message or email (or both) dependant if you organisation has that feature setup. When the customer responds they will log in to their ‘Customer Portal’ and see the document request made by you. When the upload the document, it will then be completed and automatically move into the ‘Supporting Document’ section. It’s also important to note, that dependant on the type of document requested it could trigger further pre-population and further tasks to be completed. E.g A bank statement, could prepopulate further assets and liabilities for the customer.