Risk- DCA tab
The DCA tab allows the organisation to set and manage their DCA holders and their workflow approvals

![]()
1 - Add New DCA Rule
The DCA tab enable your organisation to set and manage the Loan Approval stages through the setting of rules based on assigning Specific levels of approval to different levels of DCA holders. As a basic example, if we look at a Credit Role and two different users, we might set one user as Credit (role type), Level 1 (DCA Level) on the Loan Business (Product Category). For the next two settings we can choose to control their LVR % and their approval amount (Loan Amount) based on their qualifications as a lender. The below image demonstrates this.

Setting up a new DCA Rule
After clicking on the ‘Add New DCA Rule’, you simply need to complete the following steps:
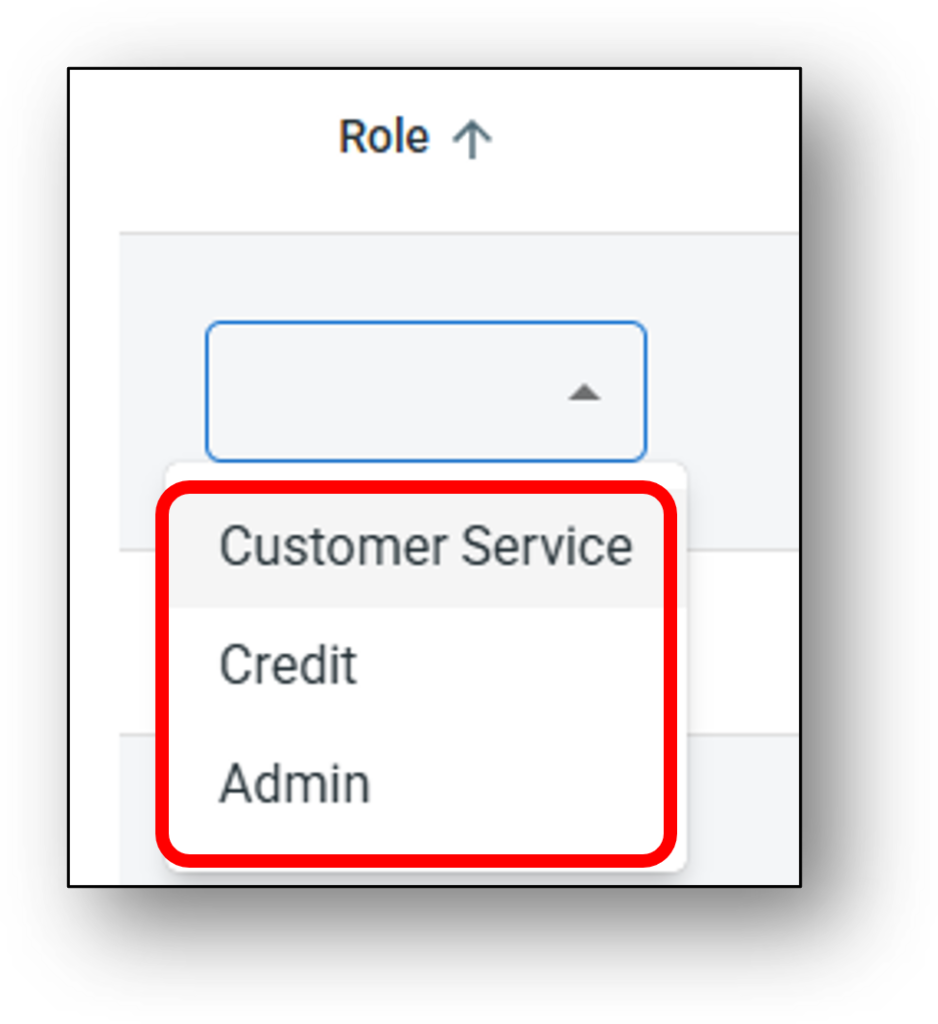
- Set the Role that you would like to apply the rule to.
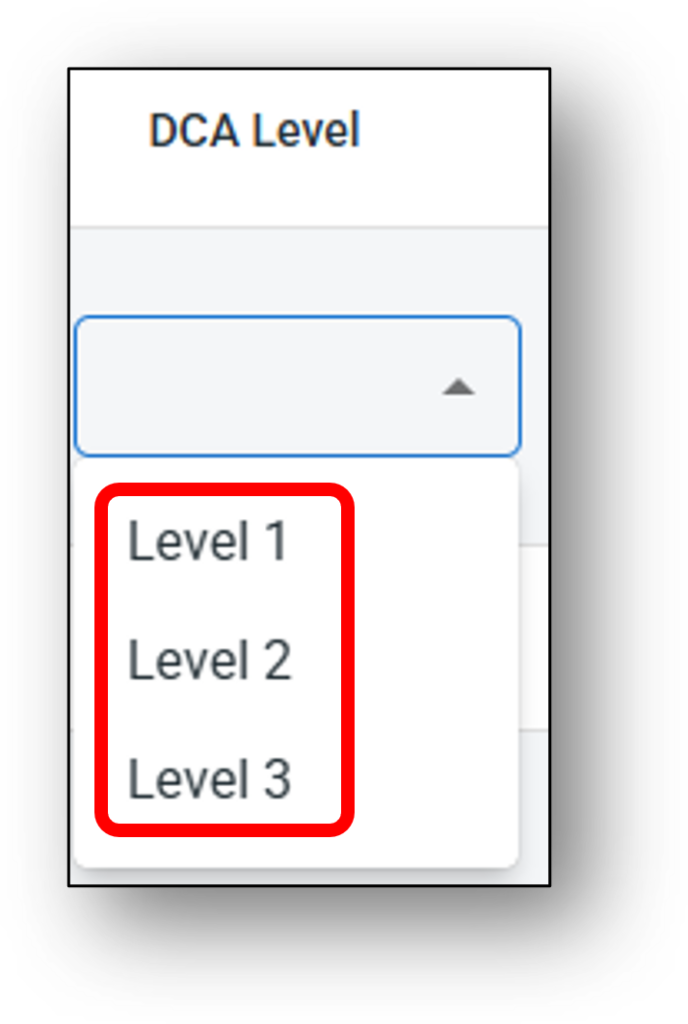
- Within the role set the Level within the role that you want the new rule to apply to. Eg. A Credit Level 1 User
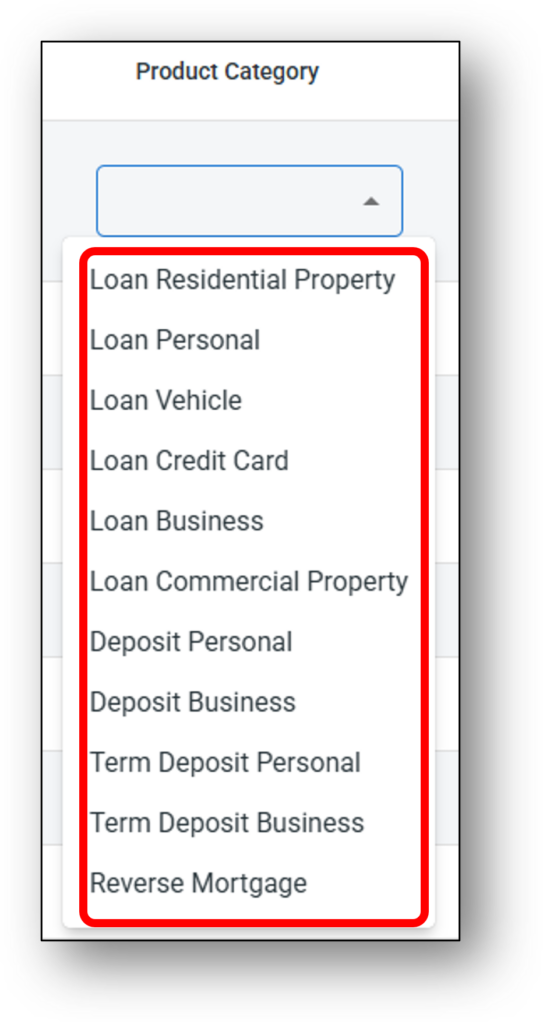
- Select the Product Category you want to apply the rule to. If you are wanting to apply the rule across multiple products, you will need to make individual rules for those categories
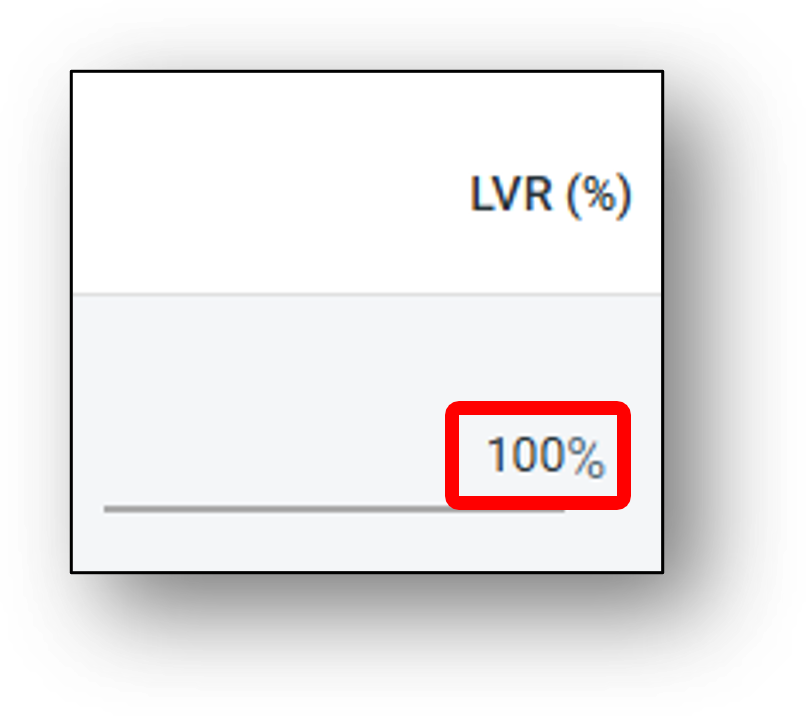
- Then set the LVR (%) rate you want the rule to stop at. Eg. 80% LVR might be the right approval level for a DCA Level 1, whilst a DCA Level 2 might be allowed up to 100% LVR.
- Next set the Loan amount (up to).
- Click Save
- The created on and updated on dates will remain for audit purposes.
NOTE: Once the DCA Rule are set, it will apply to all loans within the product category. Users with a DCA Level that isn’t sufficient to approve the loan because it falls poutside the parameters of the role and level that applies to them, will now see a button called ‘Recommended for Approval’ when all assessment tabs are showing a green ‘Accept‘ status.
STEP 1:
STEP 2:
STEP 3:
STEP 4:
STEP 5:
2 - Edit Existing DCA Rule
Editing a DCA Rule:
To edit a DCA Rule that has been set, ensure you have the level of access to do so. To change the rule, simply click into any of the editable fields and update the entries as required (see image below):
- Role Type
- DCA Level
- Product Category
- LVR (%)
- Loan Amount

Once the updates have been saved a new timestamp will reflect this in the ‘Updated On’ column (see image below).

![]()