Application – Overview tab
The Application Overview tab is the starting tab within an application. The Overview screen provides key details of the application.

![]()
1. Tab Shortcuts
The top of the overview page displays the loan amounts, lifecycle stage and high level metrics. The middle of the page provides actions and communication triggers, while the bottom of the page features a timeline that illustrates the progress of the application status, including the time and date of each event.
Header Tabs
![]()
The header displays the label ‘Edit Application’ shows the elements of data that are required to be provided to define an application as being complete. These tabs will be different depending on the Product category as well as the lifecycle stages.
When there is information still required before the application can be submitted through to assessment or simply completed in the case of an ‘Admin’ form, this will be indicated in the form of a blue bubble next to the tab with a number indicating how many requirements are needing to be met. The image below shows a number of missing information across multiple tabs.

2. View Users
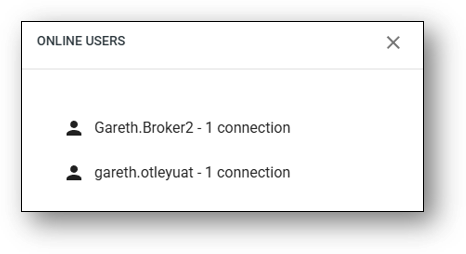
The View User link in the top right corner allows you to see who is currently accessing the application between customers, staff and brokers. The ‘View Users‘ button is universal across all portals.


When you click on the link, a pop-up will display the identities of the current users logged in as per the image below.
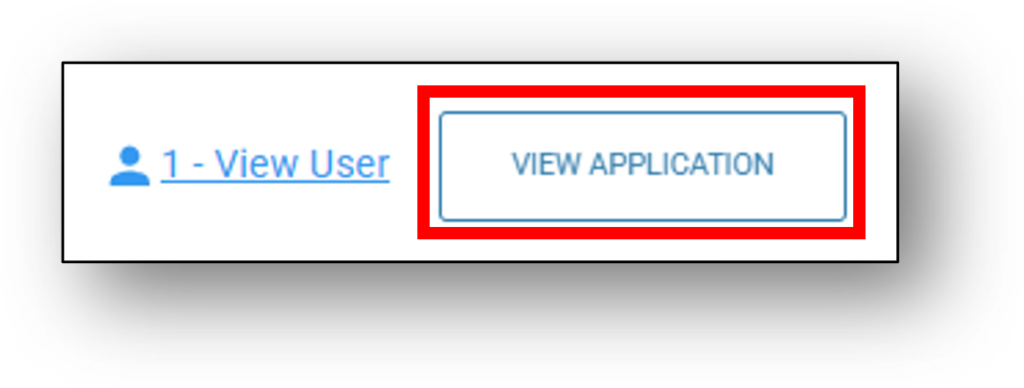
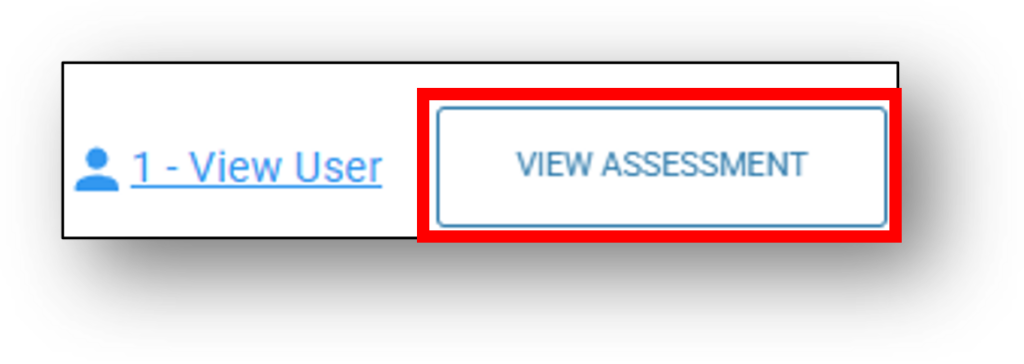
Once the application moves into assessment, a shortcut button next to the ‘View Users’ will be created. This will allow efficient navigation between the ‘Application‘ & ‘Assessment‘ layers without the need to manually search for the application again, through the assessment menu.
3. Summary
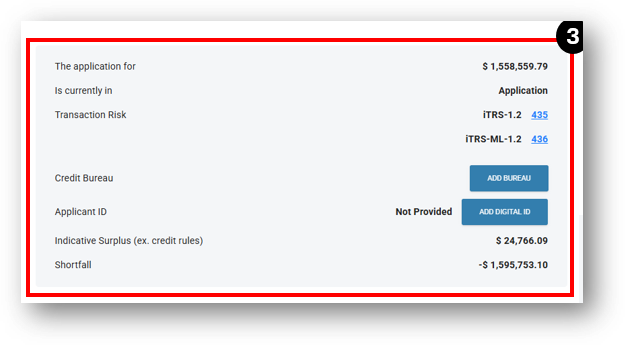
The summary displays:
- The application for (Loan amount) – The Total amount the applicant is looking to borrow
- Is currently in (Application status) – The stage that the application is currently in (E.g. Enquiry, Application, Assessment, Declined)
- Transactional Risk scores (optional) – Illion’s Transaction Risk Scoring rating.
- NOTE: This is a paid service via Illion – Further details on using this system can be found under the ‘Specialty Functions > Risk > Automation tab section on this support site.
- Credit Bureau (optional in the application stage) – The ‘ADD BUREAU’ button, runs a credit check at the application stage of the deal which flows through to the assessment stage.
- Applicant ID (Add Digital ID) – Whether the Digital ID has been completed.
- Indicative Surplus (ex. credit rules) – An indicative surplus prior to credit policy rules, showing whether the application can pass without applying credit policies.
- Shortfall (Serviceability calculation) – An available funds position indicating whether it is positive or negative, which is especially valuable for home purchases.
Note: The summary section may look differently between loan applications and between lenders depending on a number of variables that your organisation has setup for their loan origination process.
4. To Be Completed
The To Be Completed area provides a quick summary of the tabs that have outstanding items yet to be completed. Users can click on the tabs from this section to go straight to the page. The tabs that appear here will also correlate with the tabs that have blue bubbles next to them.
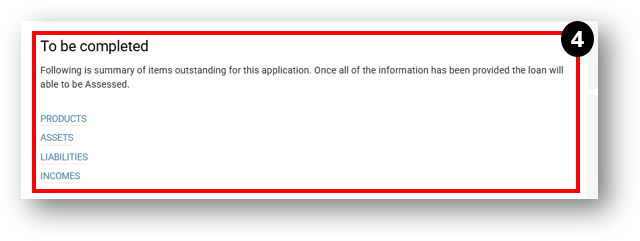
To progress the application, each of these tabs will require the missing information to be completed before progressing to the assessment stage. Common examples of missing information include (but not limited to):
- Banks Statements (auto populating Assets, Liabilities and the Incomes tabs)
- Liability Documents (Liabilities tab)
- Contracts of Sale (Assets tab)
- ID (Captured in the Applicants tab for consumer loans & Company > related parties for commercial loans)
- Business Financials (Profit & Loss tab & Balance Sheet tab)
- Loan Security for commercial loans (Security Assets tab)
- Vehicle details (for vehicle loans – Overview tab)
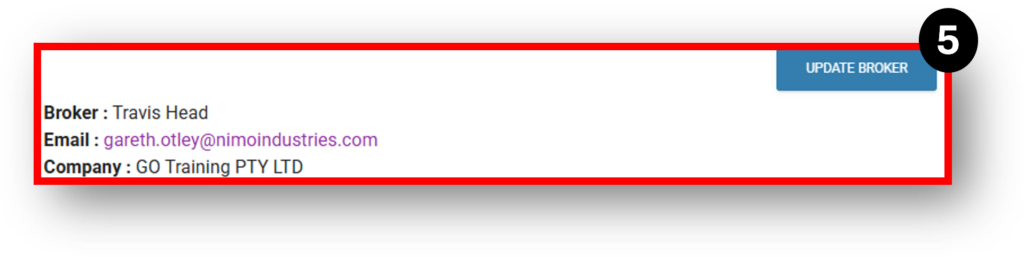
5. Broker Details
The Broker Details section will list the ‘Name’ of the Broker responsible for creating the application, their ‘Email’ and the ‘Company’ of the broker.
The ‘Update Broker‘ button can be used when there is a requirement for the lender to change the broker assigned to the application.
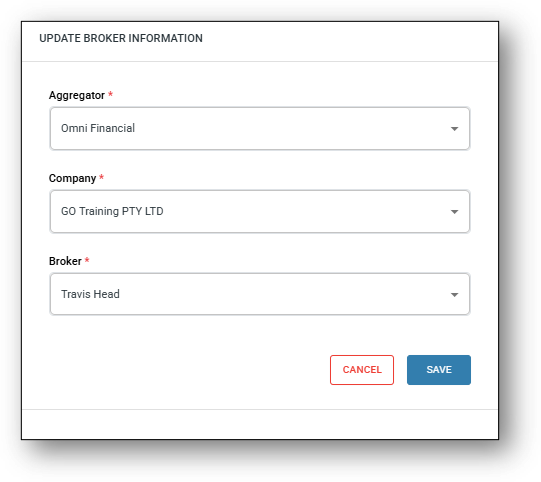
To change brokers assigned to an application, press the ‘Update Broker‘ button. A dialog box will open up for the user to complete the following three mandatory fields:
- Aggregator
- Company
- Broker
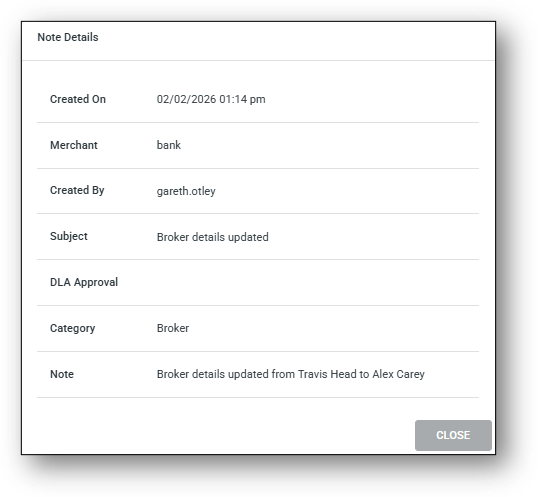
After the new details have been entered and saved, an automatic note will be left in the system on the righ-hand side of the screen. To expand the note, click ‘View’.
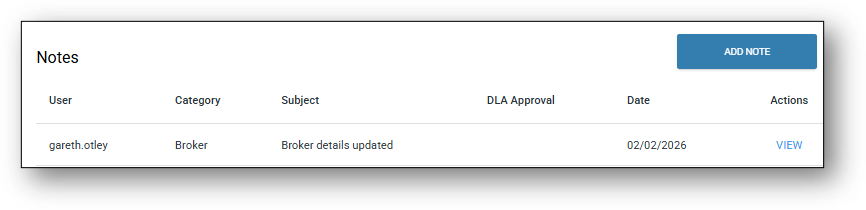
To expand the note, click ‘View’.
6. Notes
- The Notes section on the overview tab is a central place for users to make notes regarding the application. This can be for use between staff working on the same application, staff to the broker, or for key department notes when servicing the customers’ accounts.
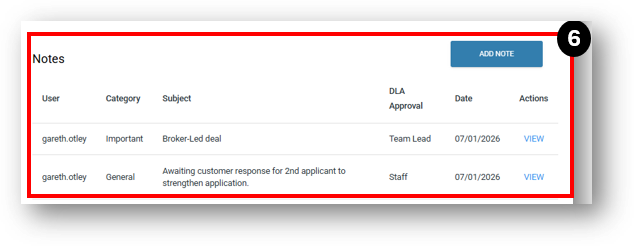
To expand the note, simply click view:
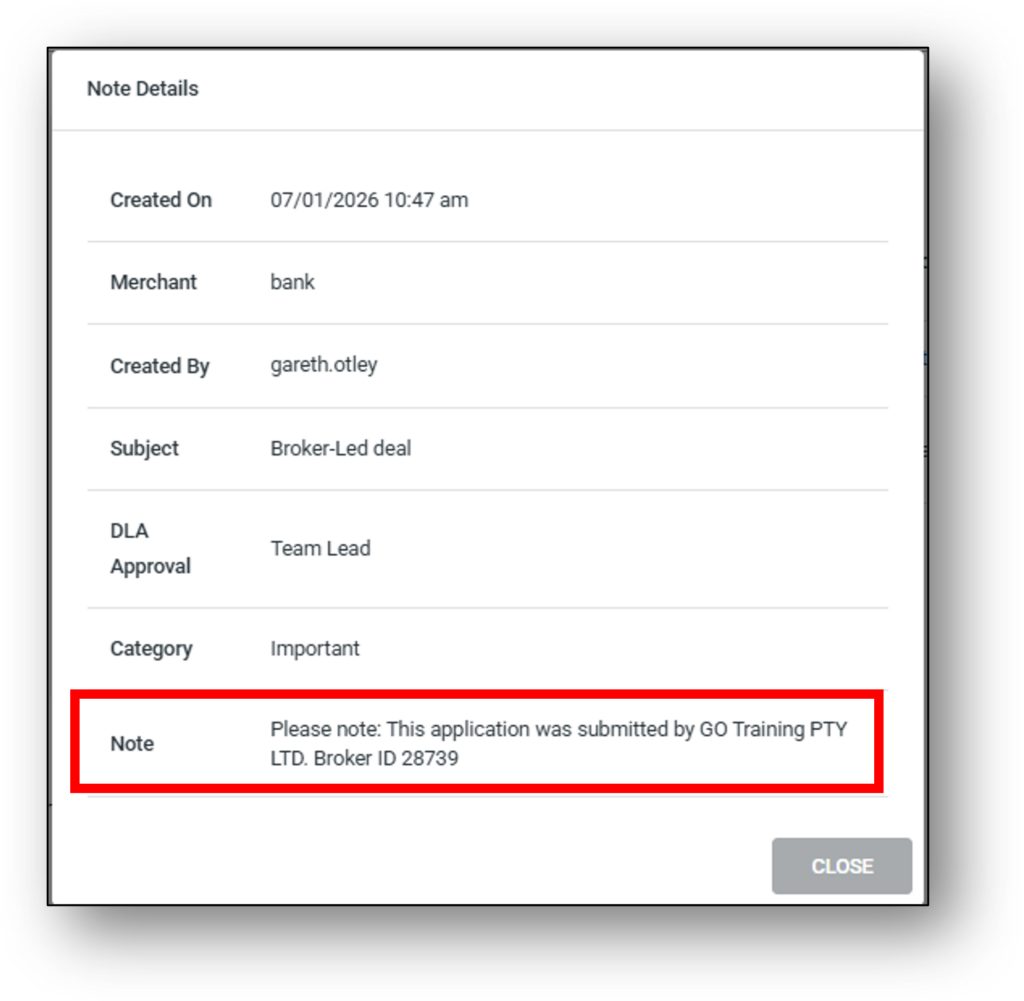
To add a note on the system, click the blue ‘Add Note‘ button. Fill in the fields – Category, Subject & Approval. Note: all fields are ‘Required’.

Note Category with example notes:
- General – “Customer called to confirm account balance. No further action required.”
- Broker – “Broker submitted revised application documents on 30/10/2025.”
- Transaction – “Processed payment of $1,250 on 28/10/2025 via BPAY.”
- Interaction – “Spoke with customer regarding loan repayment schedule.”
- Credit – “Credit check completed – score 720, no adverse history.”
- Policy Exception – “Customer allowed to submit documents after deadline per manager approval.”
- Rate Approval – “Rate change request escalated to senior manager for review.”
- Important – “Account under audit – do not process new transactions.”
- Notify Staff – “Please review customer hardship application before COB.”
- Notify Customer – “SMS sent to customer confirming payment received.”
- Dispute – “Chargeback request submitted to card issuer.”
- Warning – “Customer account shows repeated late payments – monitor closely.”
- Fraud – “Suspicious login attempts from overseas IP – account locked.”
- Collections – “Payment arrangement agreed: $500 monthly starting 05/11/2025.”
- Hardship – “Customer applied for hardship due to job loss – documents pending.”
- Write Off – “Debt of $2,000 written off after unsuccessful recovery attempts.”
- Settlement Conditions – “Customer required to upload a copy of the deeds prior to settlement.”
- Other – “Customer requested product brochure via email.”
Approval will be based on internal authority required for decisions. For example, you may need a ‘Head of Department’ to write off bad debt. DLA Approval roles include:
- Staff
- Credit Assessor
- Credit Manager
- Head of Department
- Manager
- Team Lead
- Regional Manager
- Executive
- Board
- Auditor
- Regulator
7. Actions

The left column of the actions button displays the available options available for the lifecycle of the application:
- SUBMIT TO ASSESSMENT – (Green) When in Application status and all information provided (no blue circles)
- OPEN ACCOUNT – (Green) For Deposit Accounts
- UPDATE PROPERTY DETAILS – Appears when home loan applications do not have a property
- UPDATE VEHICLE DETAILS – Appears when vehicle loan applications do not have a vehicle (or are still missing mandatory details)
- DECLINE (Red) – Declining an application will push the application into the Decline tab in the Application layer landing page. Declined applications can also be reassigned to a user.
- WITHDRAWL – (Blue) When customer or Broker request that the application does not proceed (prior to Assessment decision)
- DELETE APPLICATION – (Red outline) Will send to Deleted tab, but will not be permanently deleted
The right Column of the action buttons is used to trigger preconfigured email and SMS communications to either a customer, sales team member or broker depending on the origination channel. The preconfigured communications can be setup in the Marketing layer > Communications tab > Internal sub tab
- NOTIFY CUSTOMER – (Blue) Will only appear on a direct customer or staff assisted application
- NOTIFY SALES – (Blue) Will appear when a sales person has been assigned to an application.
- NOTIFY BROKER – (Blue) Will only appear on a broker application
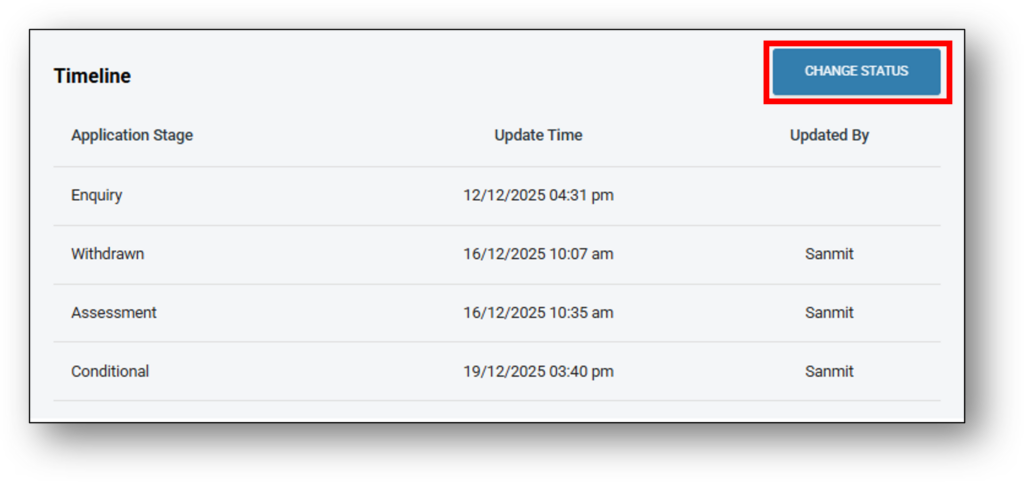
8. Timeline & Changing Application Status
Available for enables Admin Level 3 and Credit Level 3 access levels to change the status of an application.
Types of allowable status changes:
- Enquiry > Application
- Approval > Assessment
- Conditional > Assessment
- Recommend > Assessment
- Settlement > Assessment
- Decline > Application
- Decline > Assessment
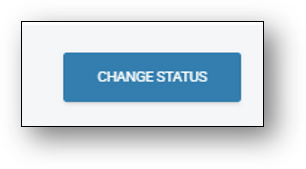
On the application or assessment layer, a ‘Change Status’ button has been added to the Timeline section.
Important Note: If an application is in conditional status and a status change is actioned, the original conditional approval letter and any customer attachments will be lost. It is recommended that before making any change from Conditional to Assessment status, you download the attachments and save them to the Documents tab in the application layer.
Important Note: If an application is in settlement status and its status is changed back to assessment, then moved back to settlement status, the customer profile in Nimo Servicing will not be duplicated, provided the customer details have not changed. However, due to the re-submission, a new loan number will be generated. In these circumstances, please contact Nimo to remove the redundant loan number.
![]()
Frequently Asked Questions
1. The applicant said they finished the application; however it hasn't moved from the Enquiry to Application stage?
This may have occurred because the applicant closed their browser/tab too quickly while the form landing page was still loading.
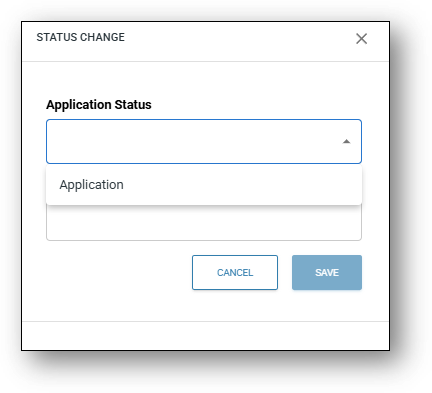
You can manually change the application status from Enquiry to Application using the ‘Change Status‘ button in the timeline section of the ‘Overview‘ tab.
Note: This button is available throughout the loan, but please check with your superusers before changing the status from Settlement back to Assessment
A dialog box will pop-up for you to select the application stage to change to. You’ll then need to provide a reason for the change.
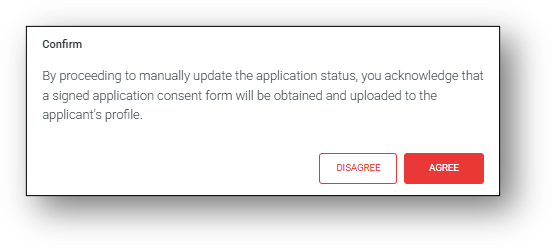
Next, a confirmation screen will pop-up asking you to manually capture the applicants consent form and upload into the documents tab of the application.
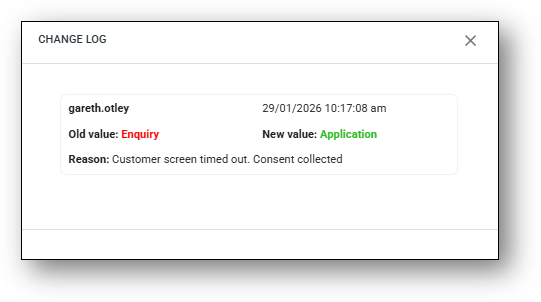
After confirming the timeline will now reflect the change highlighted by the clickable ‘Manual’ status.
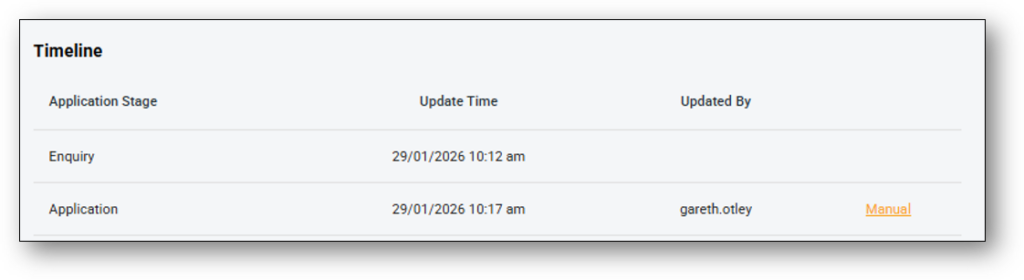
Clicking on the word Manual will open up the change log of this action.